
Installation guide
HOW TO INSTALL
Floors and lights, start to finish. Most double garages are a one-person, one-afternoon job — no contractors, no curing time, no specialist tools.
WHAT YOU NEED
Tools
- Rubber mallet
- Tape measure and a marker
- Jigsaw or fine-tooth handsaw for perimeter cuts
- Knee pads — you will want them
Time
- Single garage — roughly 2 to 3 hours
- Double garage — an afternoon
- Hex light kit — around 30 minutes
- No curing or drying time at any point
Part oneLaying the floor
Measure and work out your tile count
Measure the width and length of the floor in metres and multiply for the area. Each tile covers 40 × 40 cm, so there are 6.25 tiles per square metre. Multiply your area by 6.25 and round up, then add about 5% spare for cuts and future repairs. Send us the dimensions if you would rather we did the count.
Clear and sweep the slab
Everything comes off the floor. Sweep or blow out the dust and let any damp patches dry. You are not preparing the concrete in the epoxy sense — no grinding, priming or patching. Cracks, stains and old coatings all stay where they are; the tiles bridge straight over them.
Find your starting corner
Start at the most visible corner, usually the one facing the garage door, and work backwards. Garage walls are rarely square, so beginning at the front keeps the cut tiles at the back where nobody looks. Dry-lay a short row in both directions first to check how the pattern lands.
Lay tile to tile — loops over pegs
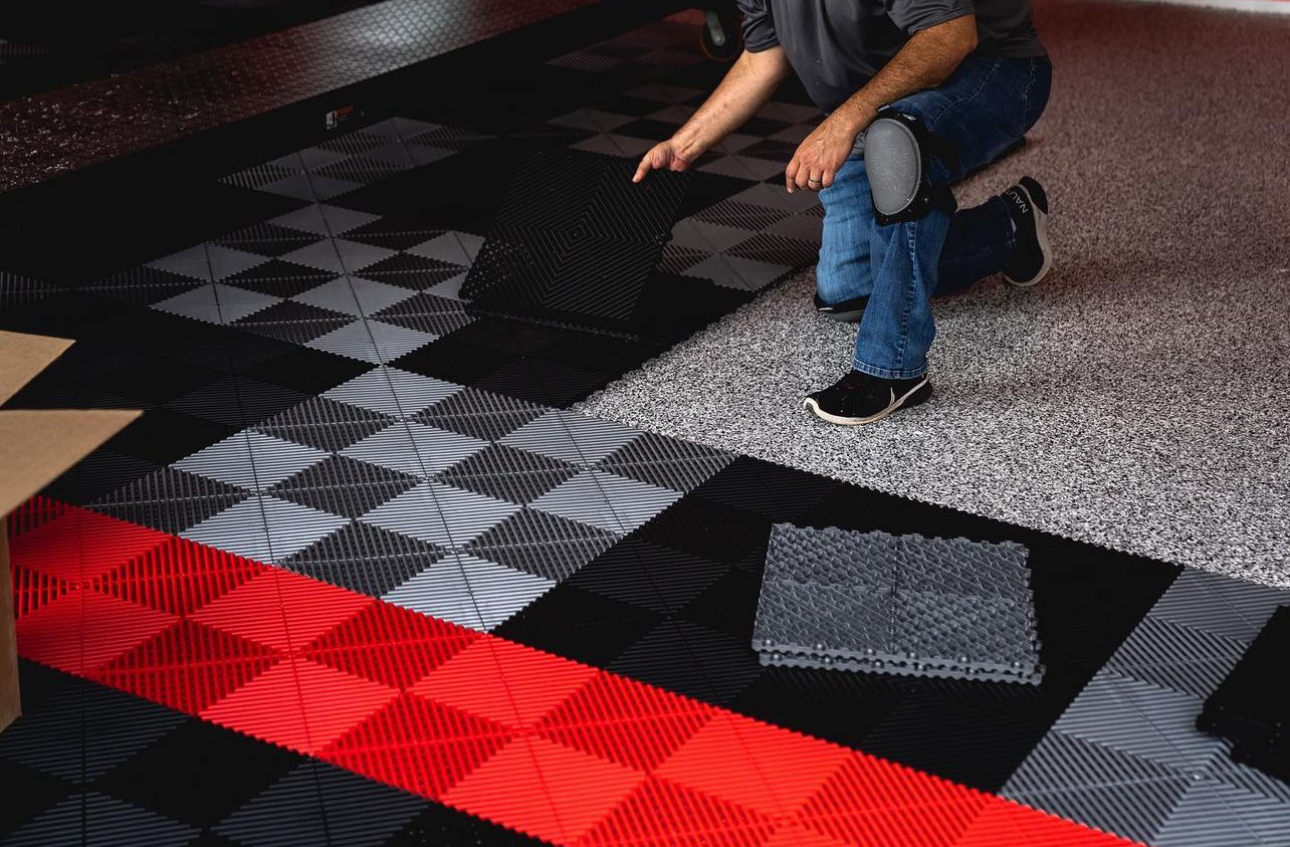
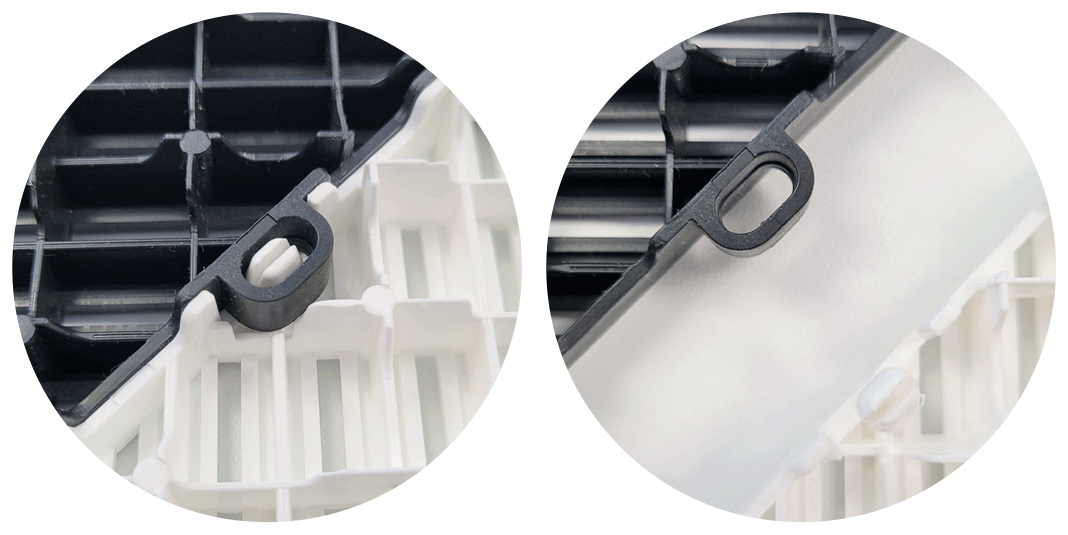
Every tile has moulded loops on two edges and pegs on the other two. Line the loops over the pegs and press down with your palm or a rubber mallet until the joint closes. You will feel and hear the click. Work in rows across the floor rather than outward in a square.
Cut the perimeter tiles
Where a tile meets a wall, mark the line and cut with a jigsaw or a fine-tooth handsaw. Leave roughly a 10 mm gap at the walls so the floor can expand and contract with temperature — the tiles will move, and boxing them in tight is the one way to make a modular floor buckle.
Fit edges and corners
Ramped edge strips clip onto the exposed sides — the doorway threshold and any open edge — so the floor meets your driveway flush and nothing catches a tyre. Corner pieces join two edge strips at a right angle. These clip on the same way the tiles do.
Part twoHanging the lights
Plan the layout on the ceiling
Lay the hexagons out on the floor first, directly below where they will be mounted, and check the shape works against your ceiling dimensions and the position of the garage door track. Mark the mounting points before anything goes up.
Mount the panels
Fix the panels to the ceiling with the supplied hardware. Get the first hexagon dead level — every panel after it references off that one, and a small error at the start becomes a visible skew across a 14-panel hive.
Link the connectors
Panels daisy-chain with 3-pin quick connectors. Push each connector home until it seats. The whole hive runs off a single power feed, so you are linking panel to panel rather than wiring each one back to a supply.
Connect the power
The feed connects to the driver, and the driver to your supply. Standard kits are designed to plug in, but if you are hard-wiring into a distribution board or you are at all unsure, get a qualified electrician to make the final connection.